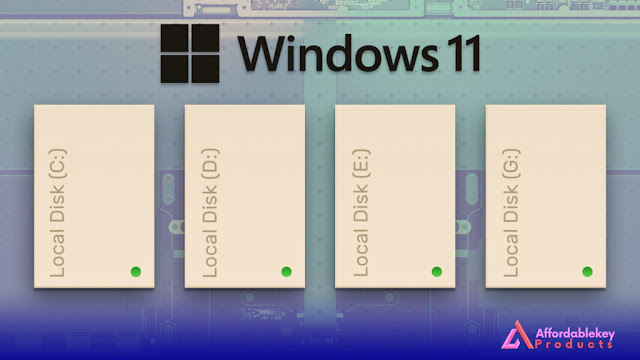
How to Partition a Hard Drive in Windows 11
Partitioning a hard drive is a fundamental process that allows you to divide your storage space into separate sections or volumes. This partitioning can be beneficial for various reasons, such as organizing data, improving system performance, and enabling the installation of multiple operating systems on a single machine. This article will delve into the step-by-step process of partitioning a hard drive in Windows 11, the latest iteration of Microsoft's popular operating system.
Step 1: Accessing Disk Management
Launch Windows 11 and click on the "Start" button in the taskbar.
Type "Disk Management" in the search bar and select the "Create and format hard disk partitions" option from the search results. This will open the Disk Management utility.
Step 2: Selecting the Drive
In the Disk Management window, you will see a list of available drives and their corresponding partitions.
Right-click on the drive that you want to partition and select the "Shrink Volume" option.
Step 3: Shrink Volume
The "Shrink" dialog box will appear, displaying the total size of the drive and the available space that can be shrunk.
Enter the amount of space you want to allocate for the new partition in the "Enter the amount of space to shrink in MB" field. Windows 11 will automatically calculate and display the maximum amount of space that can be shrunk.
Once you have entered the desired size, click the "Shrink" button.
Step 4: Creating a New Partition
After the shrinking process is complete, you will see unallocated space on your hard drive.
Right-click on the unallocated space and select the "New Simple Volume" option.
The "New Simple Volume Wizard" will open, guiding you through creating a new partition.
Click "Next" to proceed.
Specify the size of the new partition. By default, it will use the entire unallocated space. If you want to allocate only a portion of the unallocated space, enter the desired size in megabytes.
Click "Next" to continue.
Assign a drive letter or mount point to the new partition. You can choose an available letter from the dropdown menu or specify a folder path to act as a mount point.
Click "Next" to proceed.
Select the file system for the new partition. For general use, NTFS is recommended.
Enter a volume label, which is the name that will be displayed for the new partition in Windows Explorer.
Check the "Perform a quick format" option if you want to skip a complete format process. Note that a quick format does not check the disk for bad sectors.
Click "Next" to proceed.
Review the summary of the new partition's settings and click "Finish" to create the section.
Step 5: Formatting and Finalizing
Windows 11 will format the newly created partition based on the chosen file system and options.
Once the formatting is complete, you can access and use the new partition in Windows Explorer.
Conclusion:
Partitioning a hard drive in Windows 11 allows you to effectively manage your storage space and optimize your system's performance. By following the step-by-step guide outlined above, you can easily create new partitions and organize your data as per your requirements. Remember to exercise caution while partitioning and ensure that you have adequate backups of your essential data to prevent any potential data loss during the process.
Note: If you are looking for an affordable way to get Microsoft Windows 11 key, you may want to check out affordablekey.com They offer 30% off by using coupon code "HAPPYMD" and also provide 24/7 customer support, a 100% money-back guarantee, and are a Trusted Reseller of legit software keys.


%20product%20keys_.jpg)


